
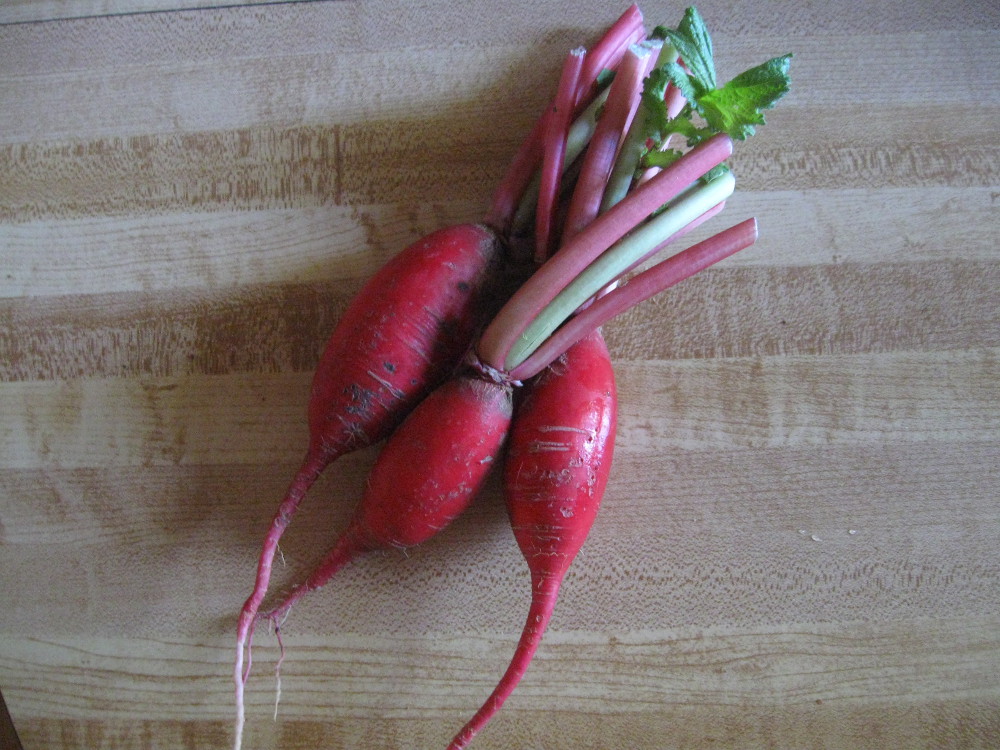
Some red winter radishes before they are trimmed for storage.
It started with the end-of-season bulk sales on root vegetables at the farmers market. There were high-quality, organic root vegetables at half the usual price. I wondered how many of them I could keep for the winter. It wasn’t just the price, either. Market vegetables taste better than store vegetables, and, facing the prospect of six months of boring vegetables, I thought I would try storing them.
While I would love to have a proper underground root cellar, city apartments and small suburban houses don’t usually come equipped with such a luxury. But that has not stopped me from storing root vegetables all winter. It takes some work to do it well, but I have always found that it is worth the effort.
I know of five different ways to store winter vegetables: in the refrigerator, in a basement space, in an unheated room, in your kitchen, and in coolers outdoors. I’ll treat each method separately. But first, there are some basics to think about.
First Things First
The first thing to know when storing root vegetables is what to store, even before where to store it. Larger vegetables store better than smaller ones, as they have a better ratio of surface area to volume. This is true across the board. Also, some vegetables—notably sweet potatoes and winter squash—should be properly cured if they are to last. Ask your farmer whether they cure their storage vegetables. If they can’t tell you, buy elsewhere.
The farmer is also a good source of information on what to buy for the long term. Near the end of the season, I find myself asking, “Does this store well?” or “Which one stores best?” Good farmers have the answers to these questions. They can make it easier to choose among types of potatoes or onions as you pick through the options.
Once you bring home your bumper crop, proper preparation makes a difference in how well the vegetables store. First, inspect what you bought. Any damaged veggies should be eaten first, as they will not keep as well. Try to store only intact vegetables.
Spend some time before you put your purchases in storage trimming root hairs and leaves. Root hairs can tend to grow mold in storage, and leaves growing from root veggies sap their nutrients and change their texture. Trimming also means you need less space for your vegetable haul. If you do as I do and buy 70 or 100 pounds of root storage crops on one day, it might take a few hours to trim them all, so plan accordingly.
Also, make sure your roots are not covered in dirt, as that also tends to promote mold growth (unless you have an actual root cellar). They don’t have to be scrubbed clean and they should be as dry as possible before storage, but they should not have a lot of visible dirt. If you want to be extremely thorough (or if you find mold growth later in the season), wash the vegetables in vinegar, then rinse and dry them before putting them in storage.
In the Refrigerator
Once you have chosen your storage crops, the easiest way to store them is in the fridge. Keep them in plastic bags that are not air-tight. A little air circulation keeps them fresher. I also discovered (the hard way) that some of the compostable plastic bags hold moisture too well. If you are using eco-plastic, put a few strategic air holes in the bag before storage.
One drawback to using the refrigerator is that if you stuff your fridge full of vegetables, you will reduce circulation, and that can lead to cold spots. I have found ice on my storage vegetables in the back of the bottom of the fridge. Once I found out where the cold spots were, I tried to keep only very hardy vegetables there. The rutabagas have never seemed to be harmed by a frost.
In the Basement
If you are fortunate enough to have an unheated basement space, you may have a good vegetables storage area. Ideal storage temperatures are between 33 and 40 degrees (F). Some vegetables, like onions and garlic, do fine in higher temperatures and low humidity. But most vegetables store best at high humidity (90-95%), so if you are running a dehumidifier, you may also be dehydrating your storage vegetables. Monitor the temperature and the humidity of whatever space you are using. Even if you can’t provide ideal conditions, you can still store vegetables, but they won’t last as long.
Last winter, I had forty pounds of onions and 50 heads of garlic stored on a shelf in the main part of the basement. It stays around 65 degrees and 40% humidity there all winter and they store fairly well.
In an Unheated Room
Friends of mine have a spare bedroom they don’t use much, so in the winter, they turn off the radiator in that room and close the door. The room stays about 50 degrees all winter, making it a handy place to store winter squashes and potatoes. If you have a room or a closet that can be cut off from heat sources, try using it for storage. It might be too warm for storing turnips, but it might work for other things. Potatoes, sweet potatoes, onions and winter squash do well at that temperature. As with every other storage method, monitoring temperature and humidity will give you the best results.
In Your Kitchen
It’s not an ideal location, but you can store some quantities of certain vegetables in your kitchen. Onions and garlic keep fairly well at room temperature, as do potatoes and sweet potatoes. All of these will tend to sprout at room temperature, but you can keep them for a few months. I have also kept squash on the dining room table all winter. The sturdier squashes (the ones with thick, inedible skins) can hold up for many months. They taste better when they are newer, but they are still edible later!
In Outdoor Coolers
My preferred method of root storage is in large coolers on the back porch. This may be the most labor-intensive method, but it has also been the most successful. Once the outdoor temperature has fallen below 50 degrees, I stack three or four large coolers near the back door and fill them with winter radishes, turnips, rutabagas, carrots, parsnips, sunchokes, and whatever else I can get at a good price at the end of the season. One large cooler will hold around 50 pounds of vegetables. I have acquired a number of the inexpensive shoulder bags that various organizations give away, the ones made of a non-woven synthetic material I put each vegetable in its own bag. Plastic grocery bags will also work, but they don’t breathe as well.
The biggest drawback to back porch root storage is cold temperatures. You don’t want to freeze your precious vegetables. If ice is forming inside the top of your cooler, it’s time to bring it in and let it warm up. We have an indoor-outdoor weather station and in the winter we put the outdoor probe into one of the coolers so we can keep an eye on the temperature from indoors. When the temperatures dip substantially below freezing at night, I bring in the coolers before bedtime and my husband puts them out first thing in the morning. When the days get really cold (below 20 degrees), I also bring them in for a few hours in the afternoon so they don’t freeze. This method probably works best for people who are home much of the day (which is a lot of us these days). If you’re gone 10 or 12 hours every day, it might not work for you.
Ongoing Maintenance
For every storage method, there is a certain amount of maintenance needed all winter long. Every two weeks or so, I check all my storage vegetables to be sure they are holding up. I refill the fridge with the smallest available roots (because the larger ones keep longer) and check over the ones that are going back in storage. If there are root hairs or leaves growing, I trim them. If there is mold, I try to remove it. I also try to give everything a good airing. You do want high humidity in your storage area, but not so high that the water condenses on your vegetables. Too much of that is a recipe for rot.
As the winter goes along, your storage chores become easier. The more vegetables you eat, the fewer need to be hauled in from the porch, checked, trimmed, and re-stored. December and January can be a certain amount of work, but after that, it is not as hard. Also, there will be some failures and you’ll find yourself putting a few things in compost. If you have a lot of rotting roots, do what you can to adjust temperature and humidity, but a few are always going to be losses.
If you can see that something won’t hold up, you can also cook it and put it in the freezer. See my earlier post on freezing produce. I’ve even stored cooked mashed potatoes when a bunch of potatoes started to go bad in the middle of the winter!
How Much to Store
I wish there were hard and fast rules about how many root vegetables to store, but it all depends on your eating habits. I kept track for a few years and discovered that if we are eating mostly storage vegetables (including what I put in the freezer), we can go through about five pounds of root vegetables in a week. Multiplying that by the number of weeks between the last farmers’ market of the season and the first market of the next season gives me a good idea of how many vegetables to buy. It took me a few years, but I’ve finally figured out what works for us. Now, for two people, I generally get about 250 pounds of vegetables by the end of November. (We eat a lot of vegetables!) If you want to buy enough to last the winter, it may take some experimentation. Fortunately, if you don’t calculate correctly, you can still buy food in the winter!
Finally
Just because you live in an apartment or townhouse doesn’t mean you can’t have winter root storage. You may not have ideal conditions, but there are plenty of options. If you’re creative, you might even come up with methods I haven’t tried.
I’ll be doing a Zoom workshop on food preservation for Wild Onion Market, my local food co-op start-up, on Tuesday, September 29 at 7:00 pm CDT. You’re invited to join in: https://us02web.zoom.us/j/89593190791.
Recent Comments