
Eco-Friendly Living: Pickling
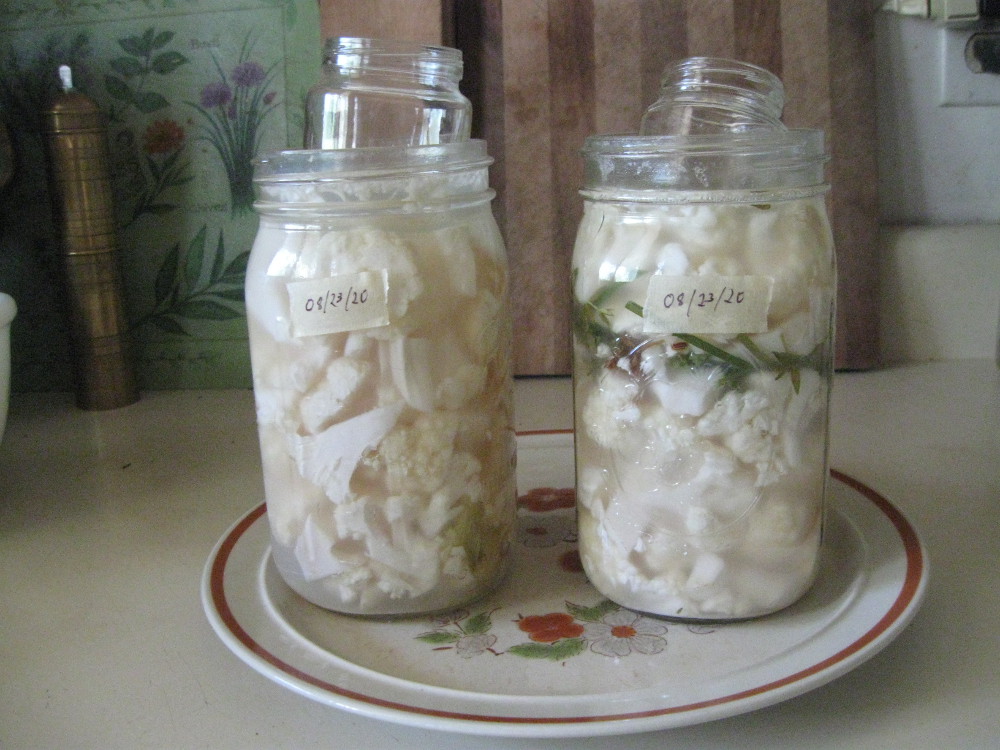
Here’s what is currently pickling on my kitchen counter: two jars of cauliflower pickles, one with herbs, the other without.
If you missed my last post, you might be wondering what on earth pickles have to do with wedding planning. The answer is, “Nothing!” But it’s all part of eco-friendly living, which is what I try to do every day. And since I’m not working on weddings this summer, I am writing about other things that interest me.
Last week, I wrote about freezing food. This week, I’d like to explore a little bit of the world of fermentation. Pickling and other forms of fermentation are a whole world unto themselves, so I can just touch on a bit of it and give you some resources for further exploration.
There are two basic kinds of pickles: quick pickles (or refrigerator pickles) and brine pickles. I don’t actually know much about quick pickles, because I prefer the slow method, but all the recipes look pretty easy. Quick pickles (vegetables in vinegar, mainly) are usually canned for better shelf life.
Brine pickling is, in essence, setting up the conditions for microorganisms to preserve your food for you. This generally involves salt. If you want to get into detail, there are lots of online resources. I am also very fond of the books of Sandor Katz, who knows a lot about the subject. Try his Wild Fermentation for an excellent introduction to the subject and lots of recipes.
The basic idea of bring pickling is to put your vegetables into a salt-water brine and let them ferment for anywhere from a week to three weeks until they are pickled. After that, you can refrigerate them or can them for further storage. (Or you can just eat them without storing them!) I don’t like to can them, as I prefer not to kill all the microorganisms.
EQUIPMENT
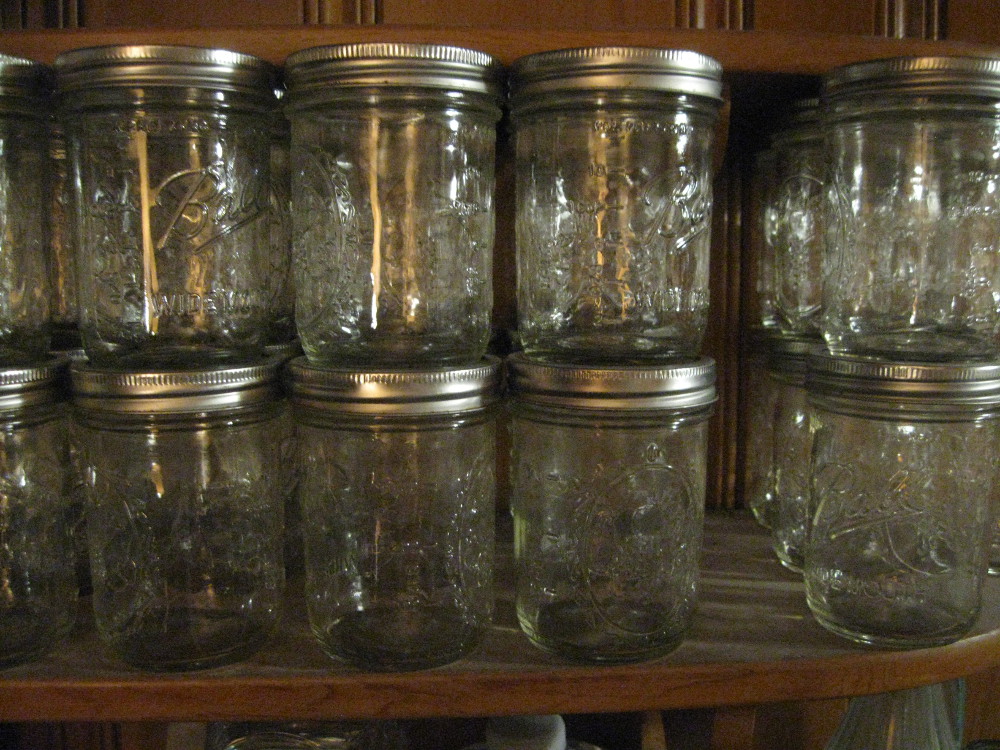
You don’t need a lot of special equipment for pickling. You can use what you have. If you happen to own crocks and pickling weights, that’s great. If you don’t, you can use glass jars, plastic buckets, the ceramic crock of an old crock pot, whatever you have or can find for a container, as long as it is food safe.
It’s usually necessary to put some kind of weight on your pickles to keep them under the brine. As a weight, I usually use water-filled glass jars that are smaller than the diameter of the container I’m using. If I have a large container and a small weight, I’ll put a plate under the weight to hold everything down. If you don’t have a jar that will work for a weight, you can use a plastic bag filled with water or brine (in case it leaks) or a clean rock or paperweight. Be sure to clean and boil or otherwise disinfect rocks or household objects so they don’t disrupt your pickles.
It is also not necessary to use airlocks on your pickling containers. If you have them and like to use them, that’s great. But you can make perfectly good pickles without them. The only thing is that pickles exposed to the air will grow yeast on their surface (which is why you want to weigh them down to keep them under the brine). A little yeast won’t hurt you, but if you leave the yeast for long enough, it will grow a blue-ish mold that you really don’t want to eat and that will make your pickles inedible.
So, check your pickles every day while they are fermenting and clear the yeast off, rinse your weight, and put it all back. I just use my fingers to wipe yeasty mold off the surface of the brine and off the sides of the container. A lot of it will come off on your pickling weight too, so rinse and dry the weight well before you put it back.
You also want to be sure to cover your pickles with a towel or other covering to keep flies out. Flies can ruin a batch of pickles faster than just about anything. And put the date you started the pickles on the jar or on your calendar so you know when they started–and when they might be done.
INGREDIENTS
The three ingredients you need for a successful pickle are:
- Fresh vegetables
- Salt with no iodine or other ingredients (sea salt, rock salt, kosher salt)
- Water with no chlorine
Salt is often iodized or contains anti-caking agents, which interfere with the pickling process. You want to use sea salt or other non-iodized salt with no additives. It doesn’t have to be expensive. I’ve gotten cheap bags of sea salt from a neighborhood market that work just fine.
The water you use is also important. Chlorine kills the microorganisms that create your pickle, so be sure not to use fresh tap water. You can use filtered water, or you can leave the water sitting out for a few hours until the chlorine evaporates.
The basic ratios I use for salt amounts are these: If I’m making sauerkraut or something similar that doesn’t use a brine, I use about 3 T salt to 4 or 5 pounds of cabbage or other vegetables. For brine pickles, the brine I make generally has 1/2 T to 3/4 tablespoon of salt per cup of water. If you’re using a finely ground salt, you can use an amount on the smaller side, since a tablespoon of fine salt has less air in it than a tablespoon of rock salt.
So how do you know when your pickle is done? Taste it! At first, most pickling vegetables are not sour. They may even taste funny while they are fermenting. Don’t give up on them. The peculiar flavors are part of the process of transformation. At some point (and it always seems like magic to me), the brine will turn sour and vinegar-y, and the vegetables will taste like a pickle. In hot weather, with small vegetables, it might only take a week. In cooler weather, you can count on it being three weeks or even longer.
If you use more salt, the fermentation will go slower. With less salt, it will go faster. If you put in too much salt, fermentation will stop entirely, so keep an eye on how much you are using. I once had to compost an entire batch of watermelon pickles because I used too much salt and it never pickled.
So, what can you pickle? I’m pretty sure you can pickle almost any vegetable except ripe tomatoes. (Pickled green tomatoes are, of course, a deli staple, and delicious!) Soft greens are probably not a good choice, either, unless you have a specialized recipe. Cabbage, turnips, radishes, and any other sturdy vegetable in the cabbage family are a great place to start. Cucumbers, zucchini, and peppers are also easy and fun. I’ve also tried carrots, eggplant, garlic, onions, okra, and probably a few other things that I can’t recall.
If you find that you need more information, Mr. Google is a great help. I had never pickled cauliflower before, so I searched for recipes. Turns out that there is a wide range of them available! So, take what you know, find out what you need, and don’t be intimidated by the wonderful world of pickles. Start with a small batch, if you’re not sure how it will turn out. Once you get started, you’ll find out how easy and fun it is.
I’ll be doing a Zoom workshop on this subject for Wild Onion Market, my local food co-op start-up, on Tuesday, September 29 at 7:00 pm CDT. You’re invited to join in: https://us02web.zoom.us/j/89593190791.
Recent Comments